Raymarching in Rust
Experiments with raymarching using Rust and Vulkan.
Raymarching in Rust
As an exercise to better learn the fundamentals of Rust, what better project to get started than a raymarcher?
Rust in an embedded systems language, promising the speed of C++ while offering memory safety.
Rather than executing all code on the CPU and generating an output image, I wanted an image to update in realtime. In order to do this, I opted to run my code through a fragment shader on the GPU using Vulkano. Vulkano is an abstraction library that simplifies the process of window creation and rendering images through shaders.
I will skip the details of window creation, swapchains, and buffers, as that is outside of the scope of this post.
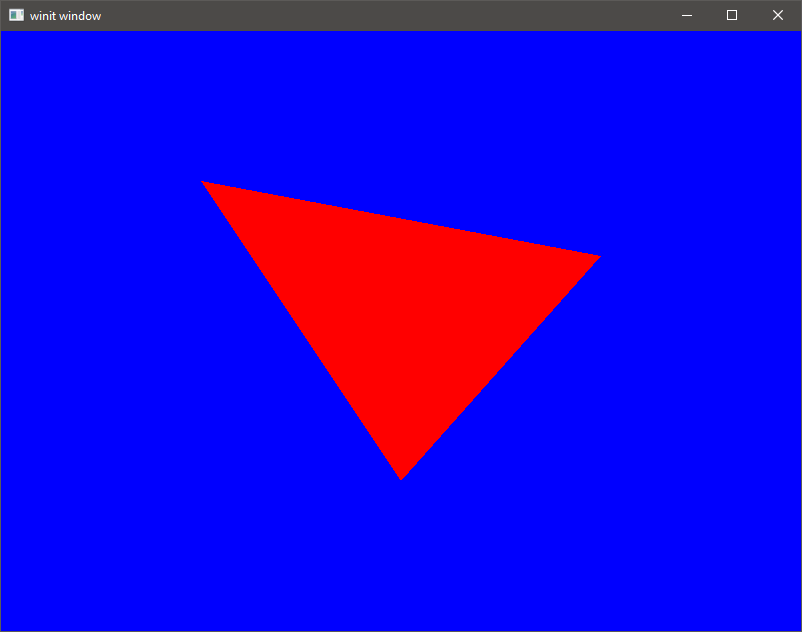
First step is to get a triangle rendered to the window, using a simple vertex buffer. Since we won’t be adding MVP transforms yet, vertices will need to be placed in Clip-Space.
1
2
3
4
5
6
7
8
9
10
11
12
13
14
15
let vertices = [
        // Vertices are placed in clip space (-1,1)
        Vertex {
            position: [-0.98, -0.98, 0.0],
            color: [1.0, 0.35, 0.137, 1.0],
        }, // top left corner
        Vertex {
            position: [-0.98, 3.0, 0.0],
            color: [1.0, 0.35, 0.137, 1.0],
        }, // bottom left corner
        Vertex {
            position: [3.0, -0.98, 0.0],
            color: [1.0, 0.35, 0.137, 1.0],
        }, // top right corner
    ];
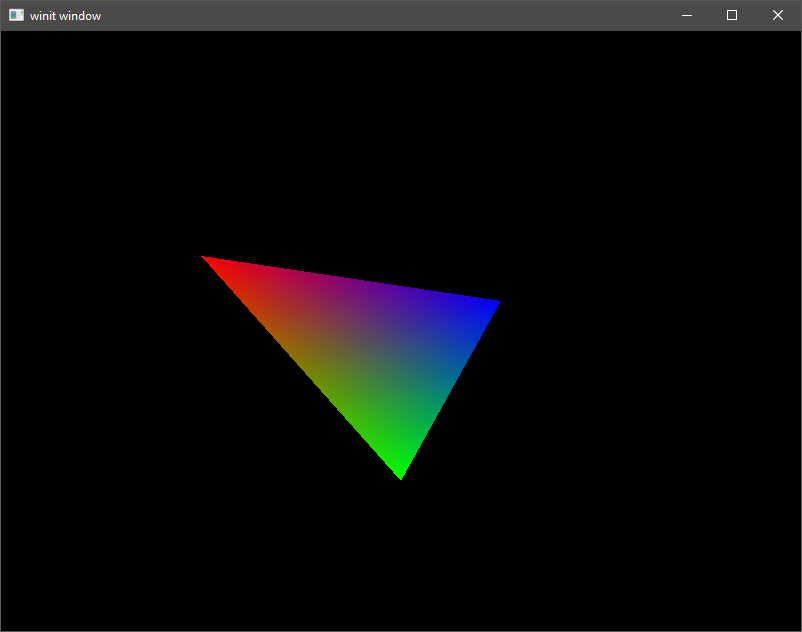
On every render pass, the background is set to a defined color. For the next image, lets set the color to black. Speaking of color, we can add the colors from the above code, and use them in the fragment shader. Vulkan automatically interpolates between colors for us, giving the triangle a nice blend.
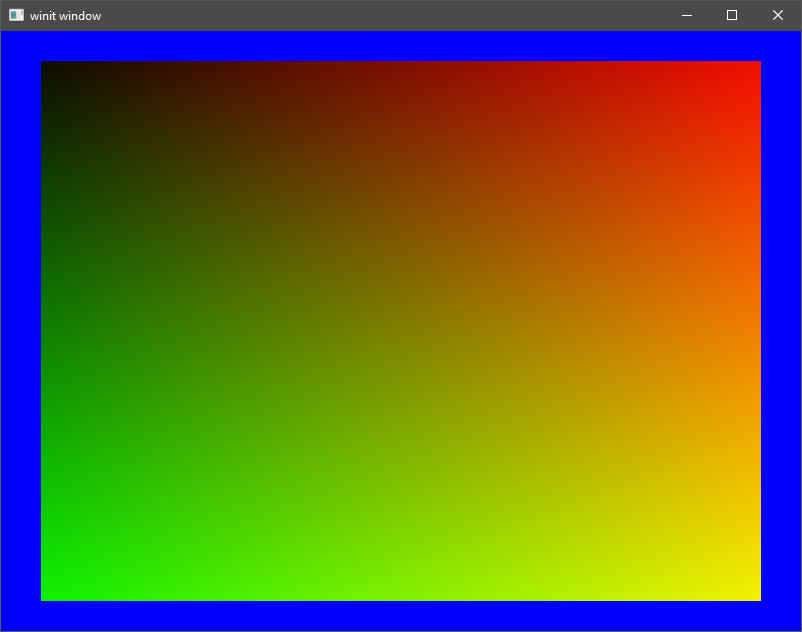
Doing some experimentation, I added another vertex & using the index buffer, constructed a square. I was curious about screen space UV’s, having some experience with them before. Using the passed vertex position, can convert from clip-space to UV space: uv = (gl_Position.xy / gl_Position.w) * 0.5 + vec2(0.5, 0.5); This can be used in the fragment shader to apply the UV color, ranging from 0 - 1.
Now that we have something rendered to the screen, we can finally begin raymarching. First step was making the full-screen quad large enough to cover the entire window. Within the fragment shader, for each pixel on the screen, we can cast a ray into the scene and check for an intersection.
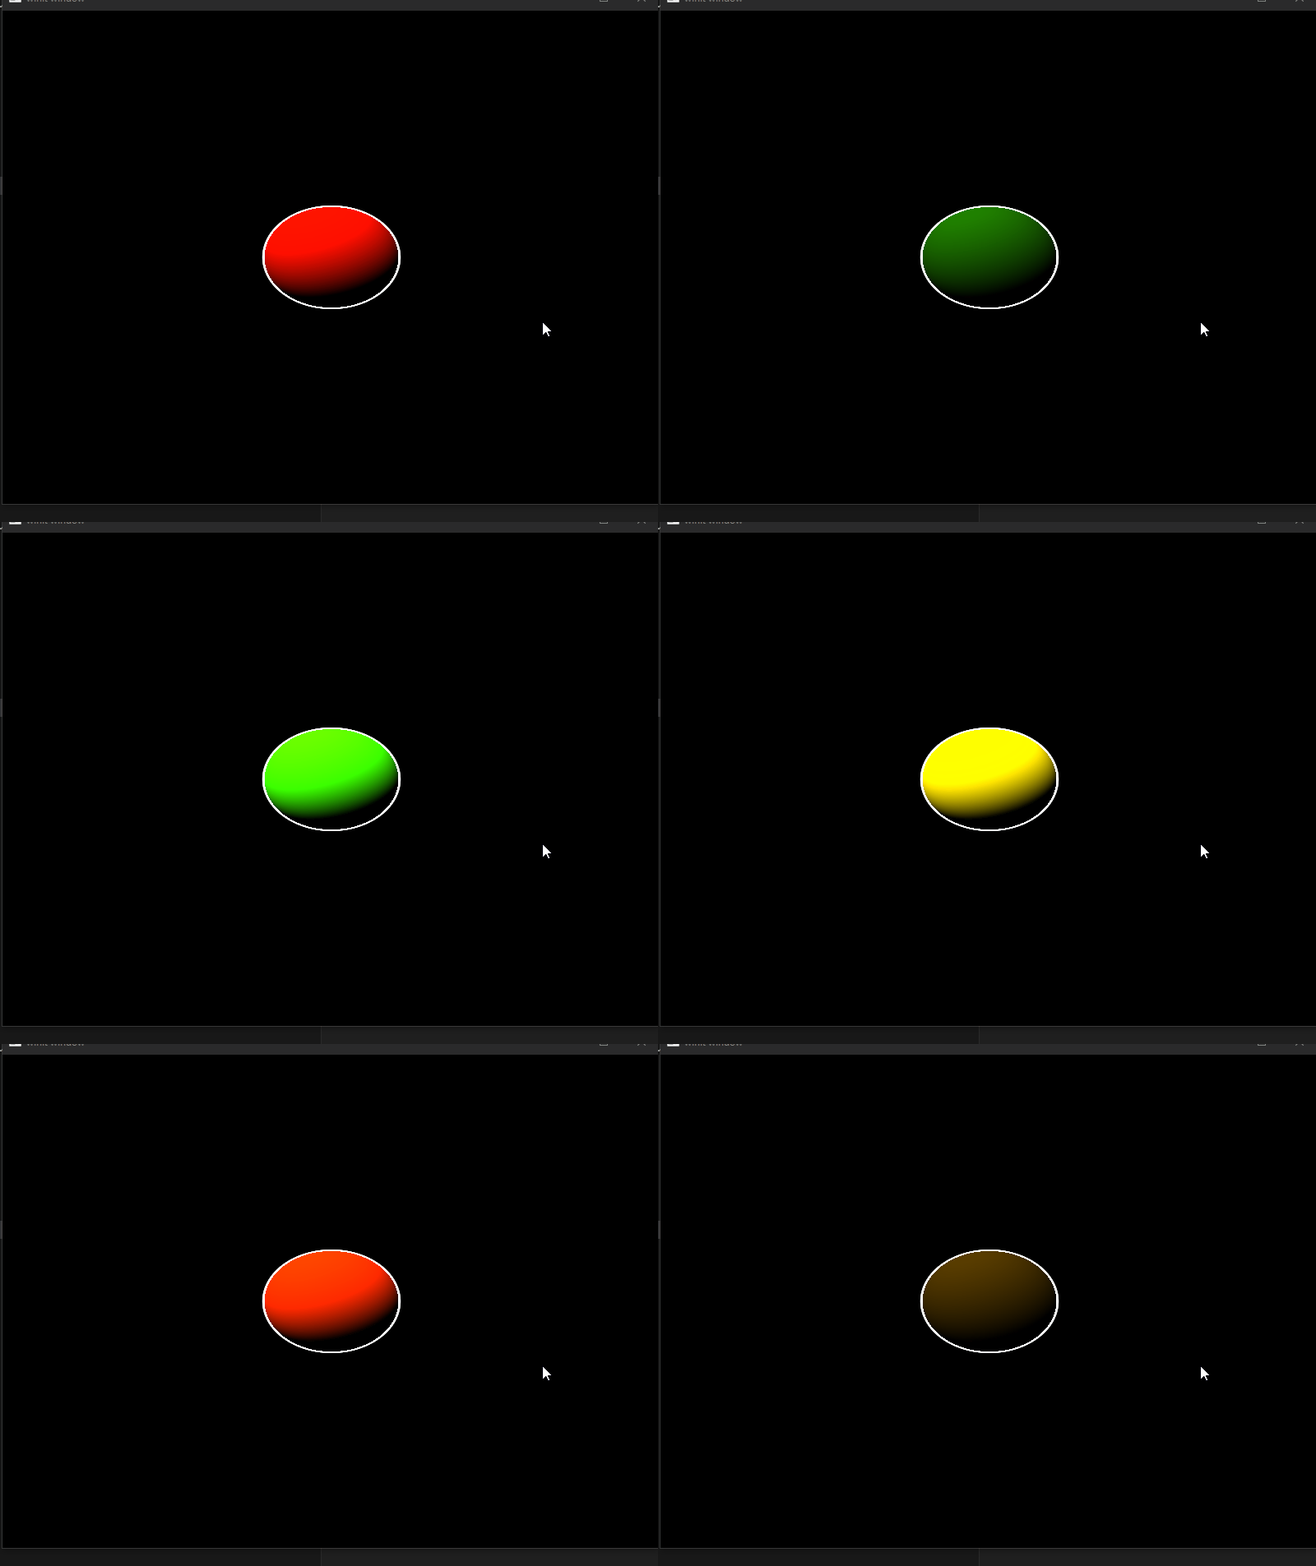
Raymarching uses mathmatical formulas called Signed Distance Functions or SDFs. For this next part, i used the SDF to make a sphere.
Using a uniform buffer, we can pass arbitrary data to the shaders. Passing a value for time and then applying that to the color of the sphere gives a nice rainbow effect.
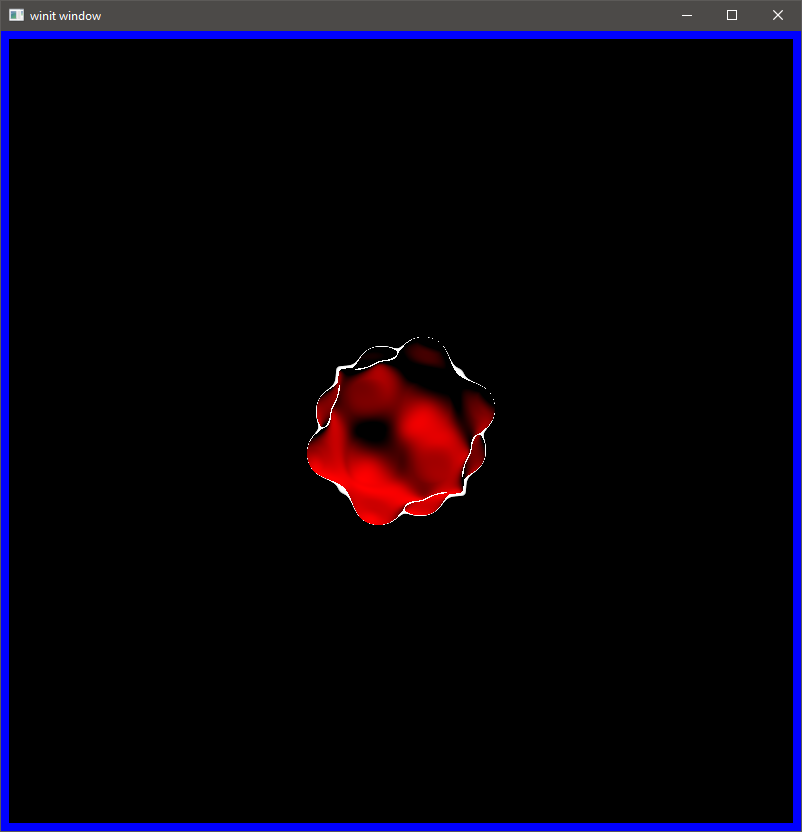
Lastly, I wanted to experiment with sinusoidal displacement. Using Sin and Cosine functions with casting rays results in some interesting effects.
I comitted my progress to my private git repository, outlined in my Gitea post.
